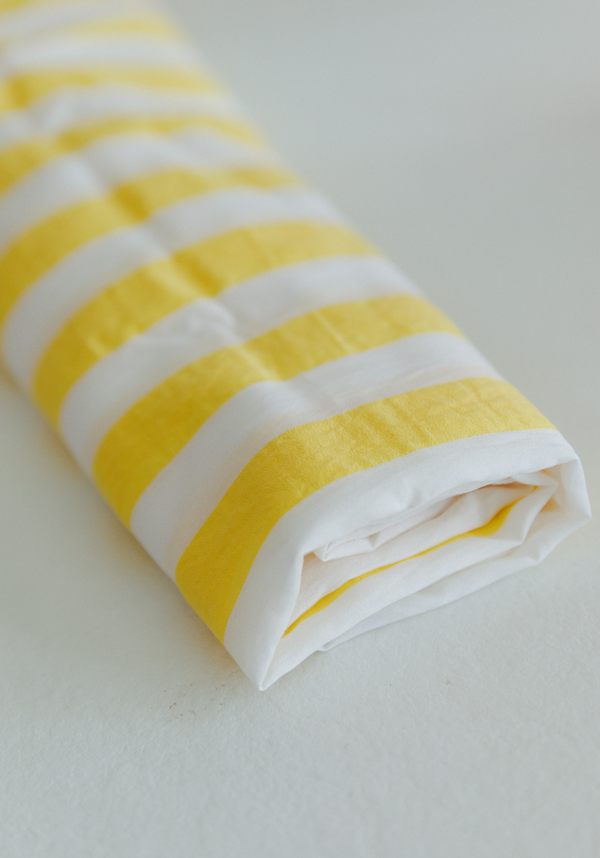
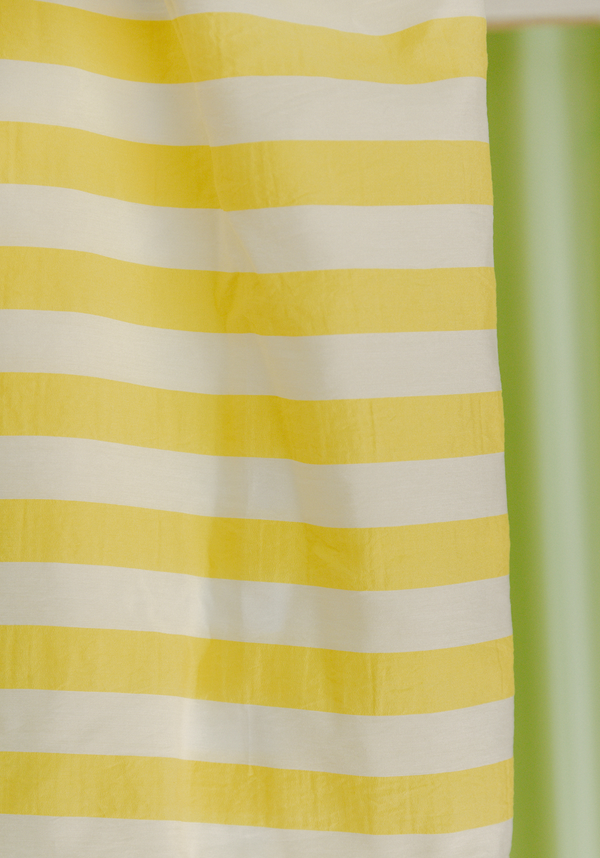
Top Panama...tuto online!


 Bon c'est pas tout ça...place au tutoriel! 1/Assemblage buste partie haute : Cousez le buste devant et les bustes dos endroit contre endroit par les épaules. Faites de même avec les pièces doublure buste devant et dos.

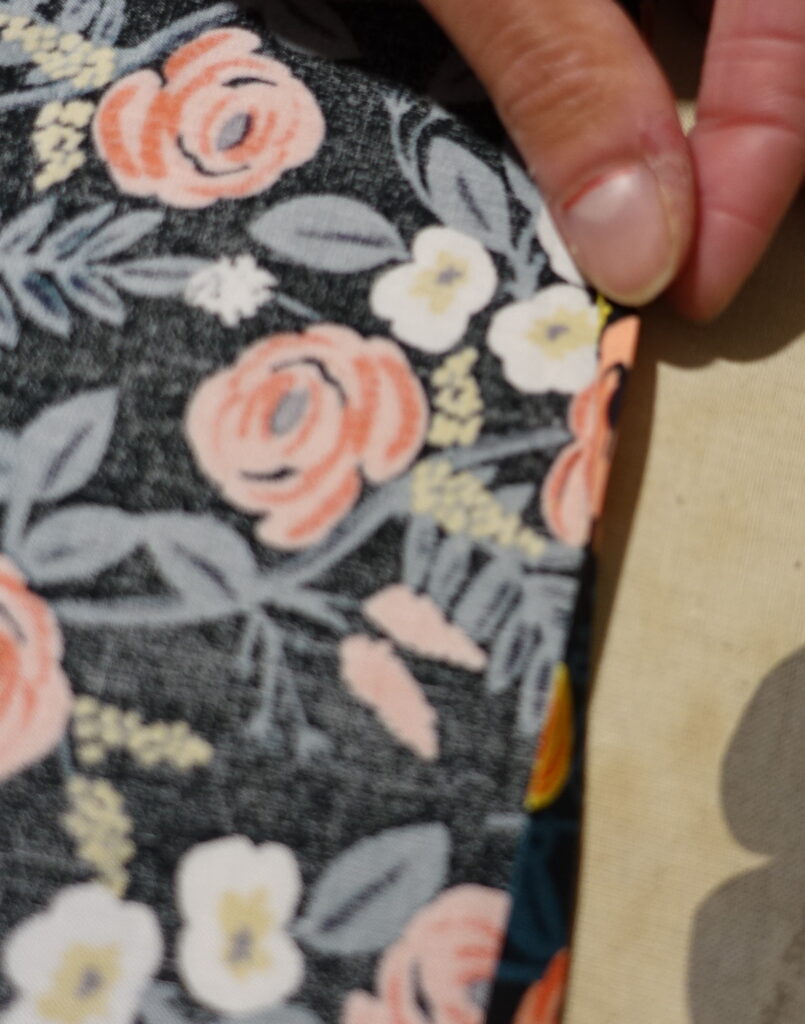
 Préparez votre petite bride qui servira à boutonner votre dos. Positionnez-la sur le repère de la pièce dos et fixez par quelques points sur l’endroit du vêtement. Pour ce faire j'ai une astuce: prenez une bande d'environ 10 cm de tissu et replié dans le sens de la longueur en insérant un cordonnet. Cousez l'extrémité du cordonné pour le fixer, puis tout le long du cordonnet avec le pied à passepoil. Recoupez l'extrémité à ras du cordonnet puis tirez dessus pour dérouler votre "spaghetti". Coupez le cordonnet, et repliez votre bande pour former la bride. Fixez avec un point.


 Positionnez vos pièces tissu et doublure l’une sur l’autre endroit contre endroit. Epinglez depuis le repère fente dos, remontez le long de l’encolure et terminez sur l’autre repère fente dos, puis cousez (votre bride est prise en sandwich entre le tissu et la doublure).Epinglez ensuite les emmanchures, cousez. Crantez l’arrondi de l’encolure, dégarnissez les angles. retournez sur l'endroit.

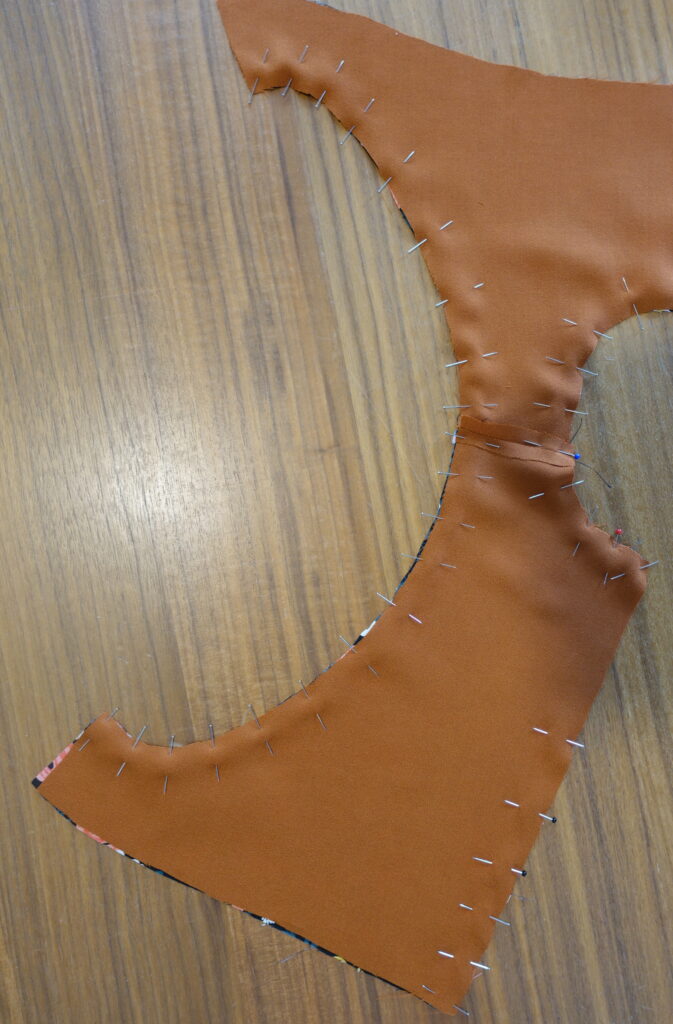


 Sortez bien vos angles et repassez soigneusement. Assemblage des côtés de votre buste : épinglez endroit contre endroit les bustes tissu devant et dos, poursuivez en passant par la couture dessous de bras et épinglez pour finir les doublures devant et dos.

 Fermez le bas du dos : épinglez endroit contre endroit les dos droit et gauche tissu, et poursuivez sur la partie doublure dos droit et gauche.
 Afin de faciliter la suite du montage, vous pouvez fixer ensemble le bas du buste tissu et doublure par une couture à 0.5 cm (la couture sera ensuite recouverte lors de l’assemblage du volant), n’oubliez pas de bien reporter vos repères milieu devant et dos. Ici je l'ai fait lors de la pose du passepoil. Le passepoil est à mettre endroit contre endroit sur le bord du buste, servez-vous du pied à fermeture éclair pour le poser.

 2/assemblage buste haut et volant : Cousez endroit contre endroit les côtés des pièces volant devant et dos. Surfilez vos coutures.
 Les fronces : sur votre machine, agrandissez le point et relâchez au maximum la tension du fil. Cousez sur le rebord de votre volant un premier fil de fronce à 0.5 cm du bord. Laissez bien de la marge de fil non cousu pour pouvoir ensuite le manipuler. Faites une seconde ligne de fil de fronce à 0.7 cm. Epinglez votre volant sur votre buste endroit contre endroit : commencez par épingler le volant selon les repères milieu devant et dos, et faites coïncider les coutures côtés du buste et du volant. Tirez sur vos fils de fronces, et répartissez vos fronces, épinglez. Cousez, et surfilez votre couture. Rabattez votre volant et repassez bien.
 3/les finitions : Cousez votre ourlet bas de top : repliez une première fois sur 1 cm et cousez. Repliez une seconde fois en vous aidant de votre 1ère couture, repassez pour bien marquer l’ourlet et cousez proprement sur l’endroit.
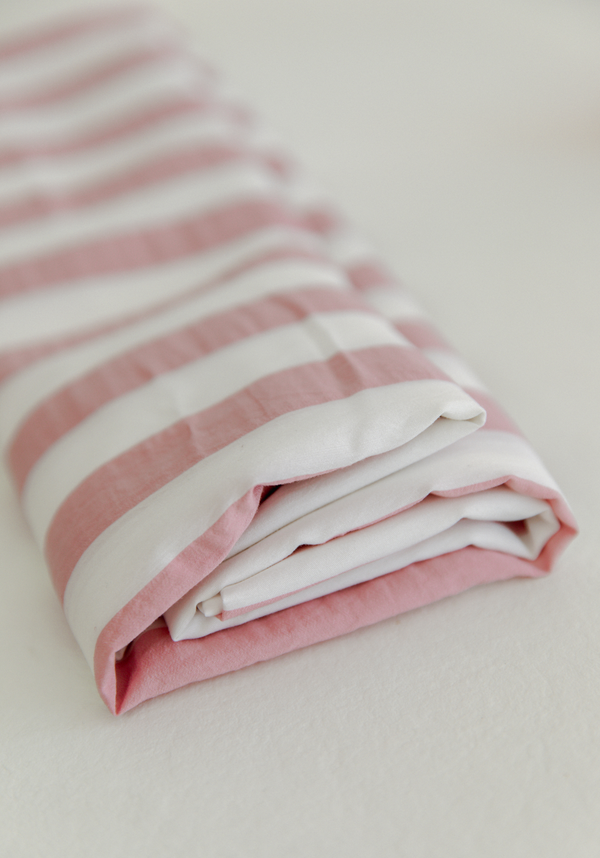
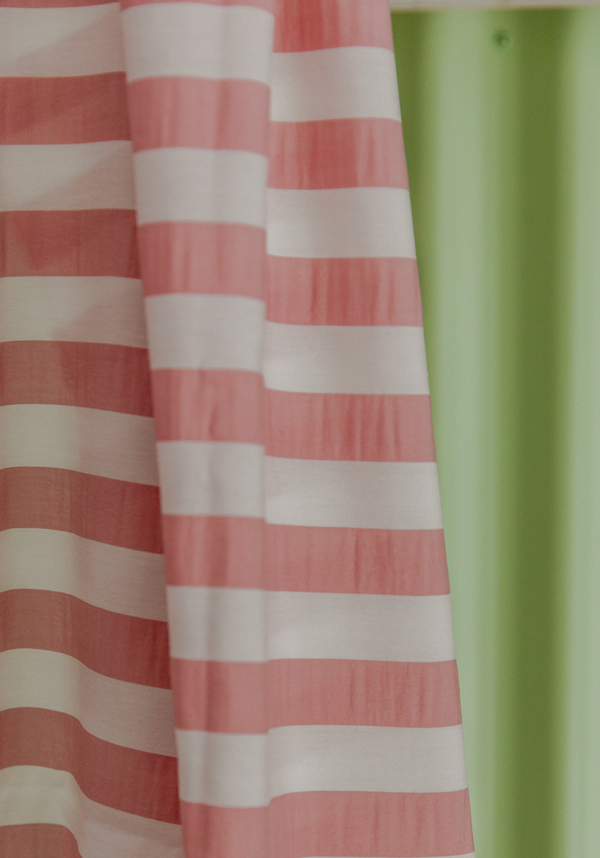
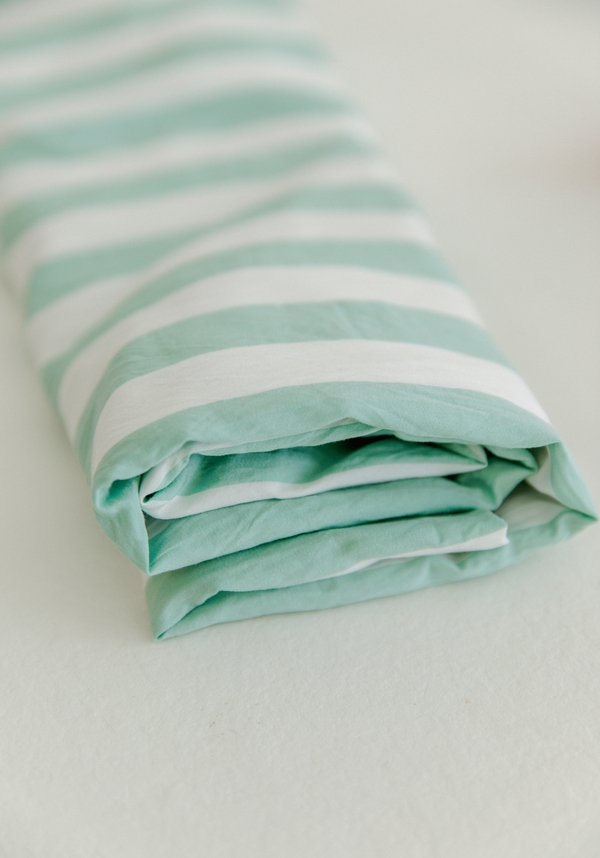
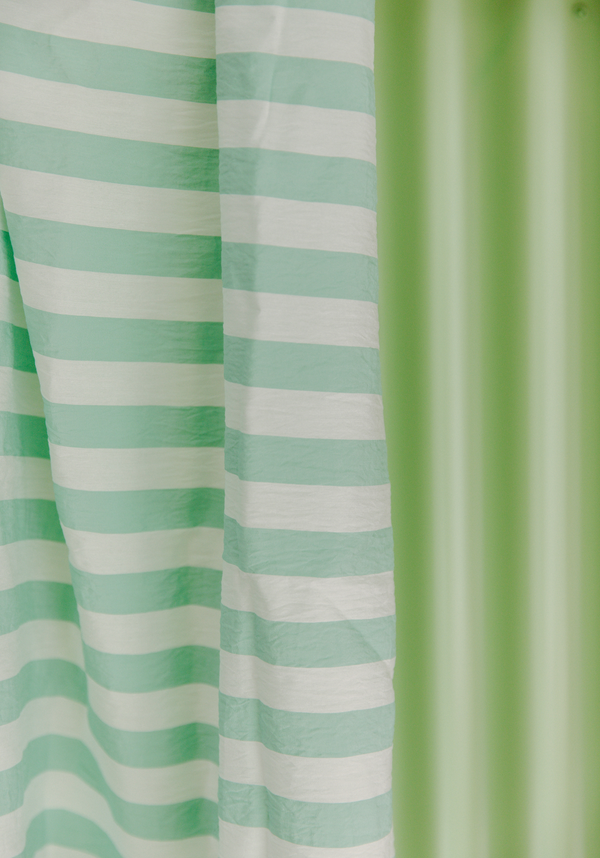
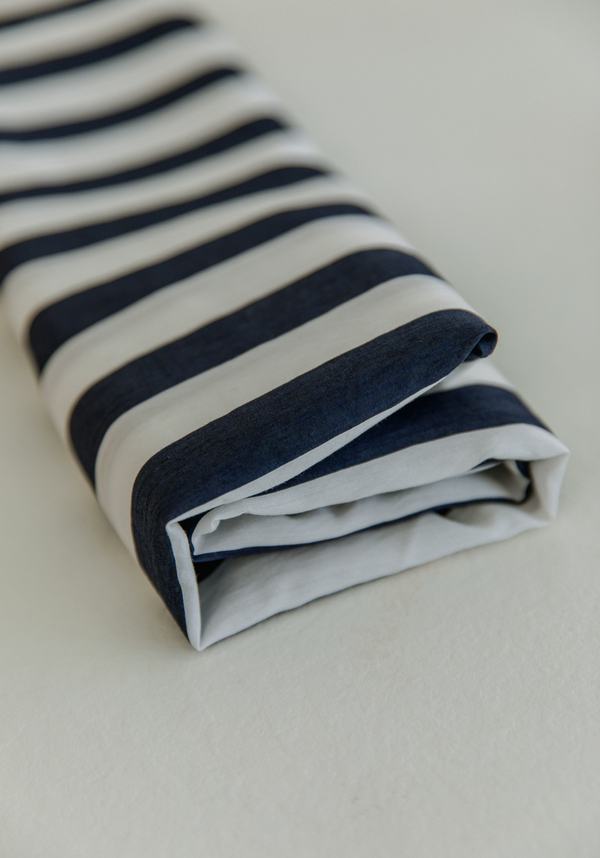
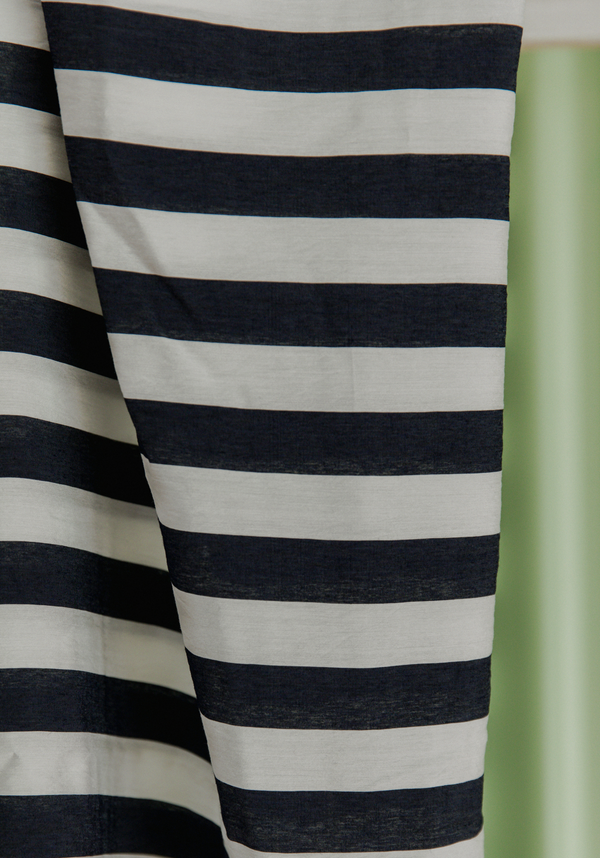
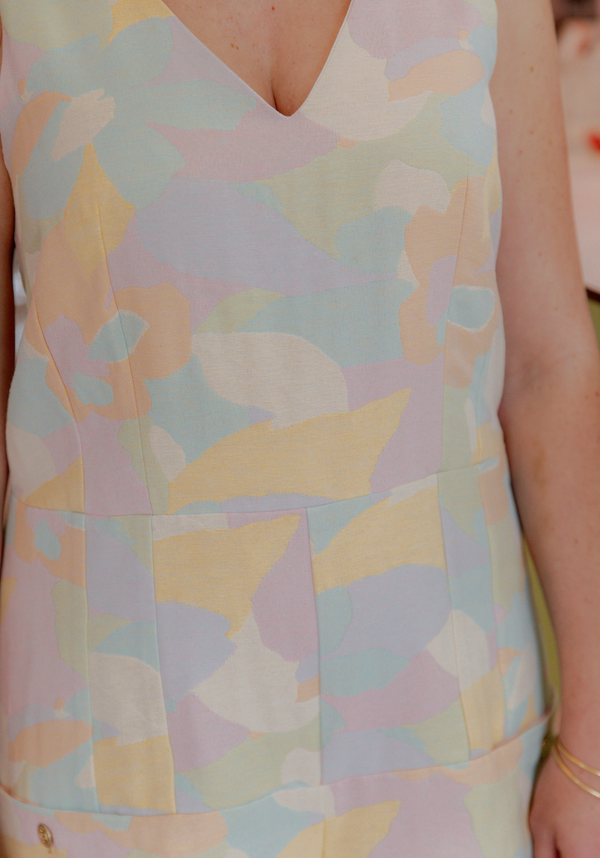
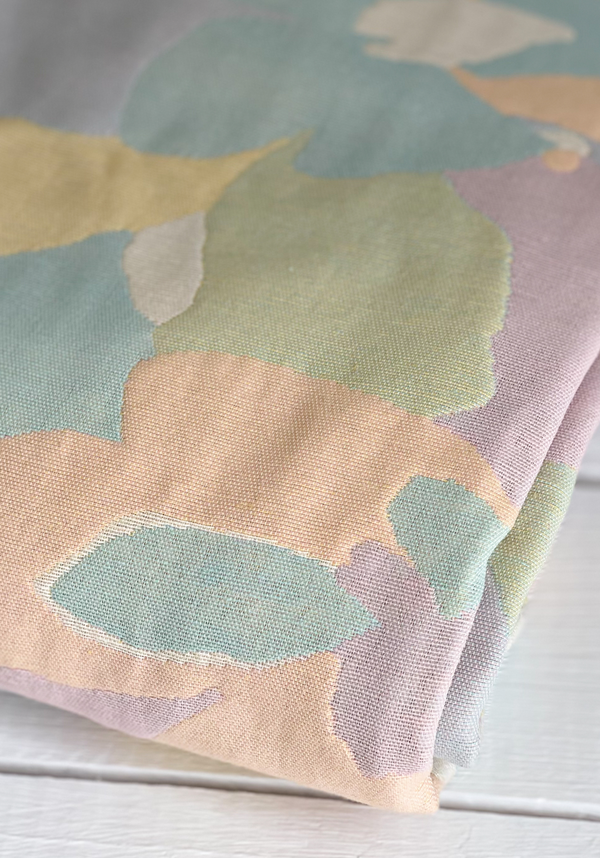
 Cousez votre bouton. Bravo, Panama n’attend plus qu’une chose : un rayon de soleil pour ambrer vos jolies épaules ! Et pour patienter, voici un cliché qui dévoile un peu de cette nouvelle collection....j'ai hâte!!!!
8 commentaires
Merci pour ton tuto sa me permet de ne pas trop m’égare des que j’ai terminer je te montre ça
avec plaisir Christine, ravie que cela puisse t’aider ;)
merci caroline! oui c’est bien le 3 mai hihhihi
merci laurie! oui petite erreur c’est bien le 3 mai ;)
Super merci pour ce tuto <3
J'adore ce top !!
Dans l'article tu dis que la collection sort le 3 septembre. C'est une erreur ? Car ça fait long !!! Ça doit être mai je pense
Hâte de voir les futures merveilles qui o't l'air très prometteuses
Wahou quel boulot de dingue ! Je n’ai pas encore regardé les explications… mais là plus aucune excuse pour s’y mettre ?.
Et je crois qu’il y a une petite coquille dans le texte sur la sortie de la collection : vendredi 3 mai, parce que je crois que l’on tiendra pas d’ici le 3 septembre avec tous ses teasers ! Hâte de voir tout ça.
Un grand merci pour ce super tuto et notamment l’astuce pour la bride c’est top ingénieux!
Je vais me laisser tenter par le top emmanchure américaine…
Anne
Merci pour le tuto L astuce de la bride j adore
J’ai préparé mon Patron reste à trouver le bon tissu et c’est parti
Avec ce tuto je ne peux que réussir
J attends avec impatience la suite de votre collection
Merci merci beaucoup