16 décembre 2016
Dahlia et son col claudine, le tuto!
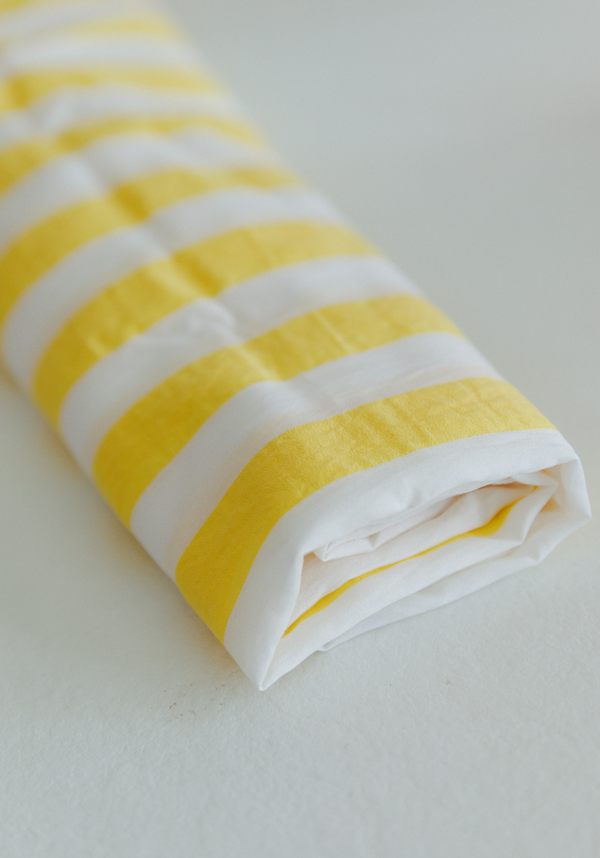
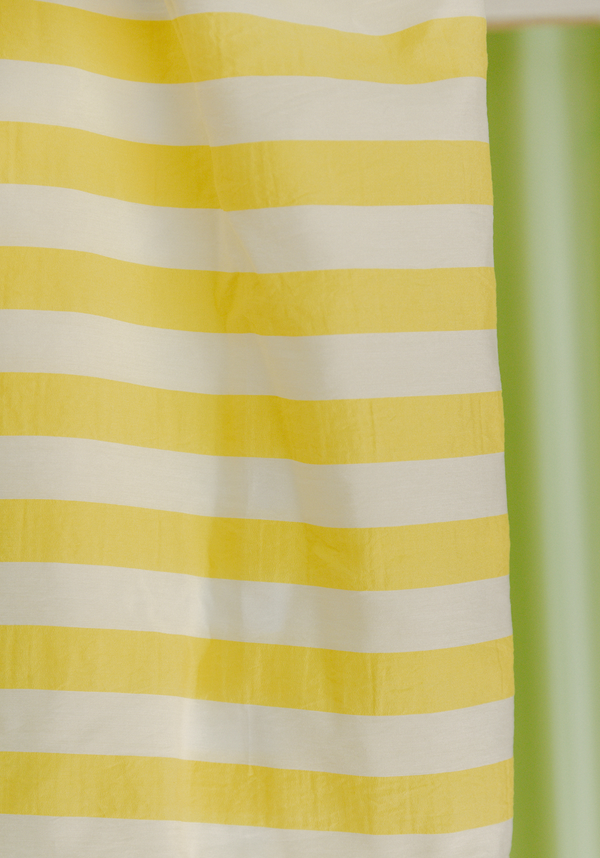
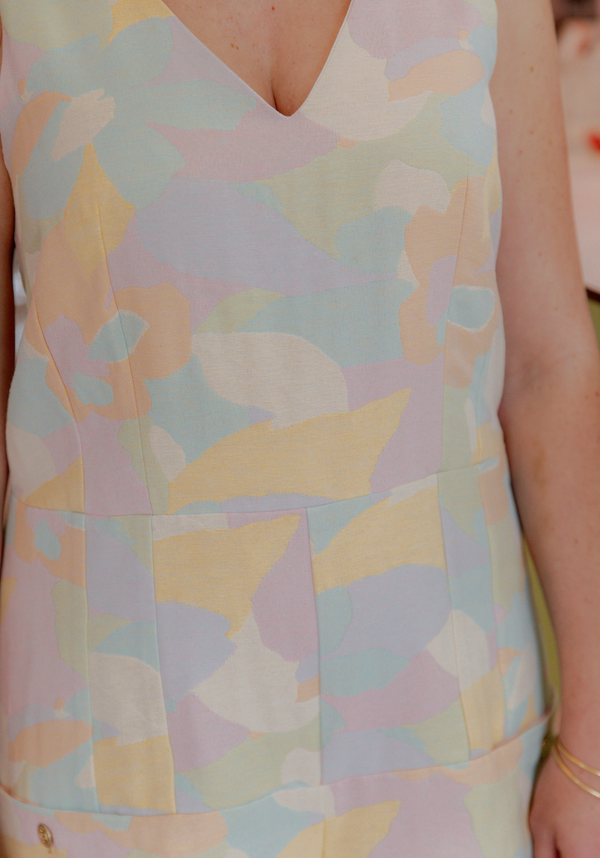
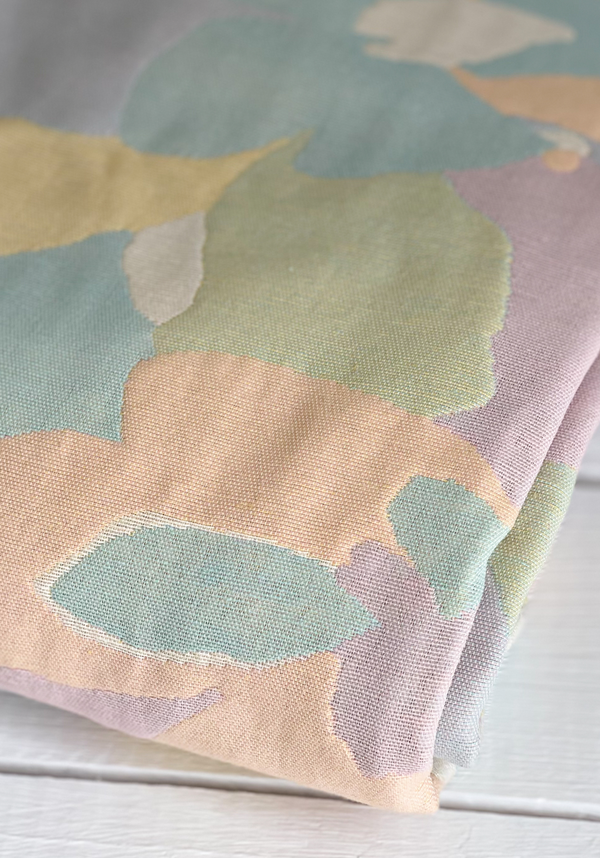
bonjour! dernière journée avant les vacances (yoouuhhhhhhooouuu) pour fêter cela je vous propose un petit tutoriel de patronage, la réalisation d'un col claudine soit un col plat, pour votre blouse Dahlia. Le patron s'y prête à merveille car il est déjà prévu pour supporter un col (le joli col froncé avec pied de col, mais bon c'est bien de varier les plaisirs non?!). J'ai choisi de réaliser une robe Dahlia avec la viscose sublime de Wear lemonade (douce et facile à coudre et cet imprimé!!!) et le col est en luxury crêpe blanc de chez Cousette (parfait car il ne se froisse pas mais peut être travaillé au fer). Je vais vous expliquer comment réaliser sur votre planche de patron le col: venez mettre épaule contre épaule vos pièces buste devant et empiècement dos.  Sur la pièce empiècement dos, retirez 3 cm comme sur la photo, puis venez superposer vos lignes d'épaules selon ce nouveau repère.
 Pour le tracé, j'ai choisi de réaliser un col d'un seul tenant, le milieu devant sera donc positionné au pli. J'ai tracé une marge à 5 cm depuis mon milieu devant jusqu'à mon milieu dos, et j'ai ensuite tracé mon arrondi Je suis descendue sur 2 cm à la verticale pour la portion au pli.
 Découpez votre patron et reportez le sur votre tissu, ajoutez la marge de couture milieu dos uniquement. Coupez en deux exemplaires.
 Entoilez ce qui sera la portion du dessus de votre col.
  Epinglez et assemblez vos pièces de col endroit contre endroit, en laissant toute la portion encolure non cousue pour pouvoir le retourner, négociez tranquillement vos arrondis (c'est un peu la même histoire que pour le code la combi Iris dont le pas à pas est ici).
 Dégarnissez vos excès de marges de couture et vos angles. retournez et repassez bien. L'assemblage du col: réalisez vos pinces poitrine sur la pièce buste devant. Venez faire vos rentrés de couture sur la ligne milieu dos de vos empiècements dos (le trait rouge prolonge les crans de repère du patron, le bord de votre empiècement dos fini sera selon ce trait), assemblez le buste dos et les empiècements dos avec les bords des empiècements alignés au cran de repère du milieu du pli dos. Venez ensuite assemblez vos pièces buste devant et empiècement dos par les épaules endroit contre endroit.


 Epinglez votre col envers contre endroit du buste. Surfilez votre marge de couture et rabattez la au fer vers l'intérieur de votre vêtement. Fixez la par une piqûre à 0.7 cm, ainsi votre rentré de couture ne sortira plus.


 Bravo!!! vous avez votre Dahlia à col plat!
  Pour la version robe j'ai simplement rallongé le modèle de 40 cm, sans modifier la ligne de côté mais en la prolongeant, cependant j'ai les hanches peu marquées donc à voir si vous souhaitez la rallonger. Le pli plat du dos donne quand même de l'aisance en bas.

 J'espère que ce petit tuto vous plaira,je m'excuse de la qualité pas toujours terrible des photos mais j'ai dû la coudre de nuit et photos portées en fin de journée... très bonnes fêtes à tous!
Sur la pièce empiècement dos, retirez 3 cm comme sur la photo, puis venez superposer vos lignes d'épaules selon ce nouveau repère. Pour le tracé, j'ai choisi de réaliser un col d'un seul tenant, le milieu devant sera donc positionné au pli. J'ai tracé une marge à 5 cm depuis mon milieu devant jusqu'à mon milieu dos, et j'ai ensuite tracé mon arrondi Je suis descendue sur 2 cm à la verticale pour la portion au pli. Découpez votre patron et reportez le sur votre tissu, ajoutez la marge de couture milieu dos uniquement. Coupez en deux exemplaires. Entoilez ce qui sera la portion du dessus de votre col. Epinglez et assemblez vos pièces de col endroit contre endroit, en laissant toute la portion encolure non cousue pour pouvoir le retourner, négociez tranquillement vos arrondis (c'est un peu la même histoire que pour le code la combi Iris dont le pas à pas est ici). Dégarnissez vos excès de marges de couture et vos angles. retournez et repassez bien. L'assemblage du col: réalisez vos pinces poitrine sur la pièce buste devant. Venez faire vos rentrés de couture sur la ligne milieu dos de vos empiècements dos (le trait rouge prolonge les crans de repère du patron, le bord de votre empiècement dos fini sera selon ce trait), assemblez le buste dos et les empiècements dos avec les bords des empiècements alignés au cran de repère du milieu du pli dos. Venez ensuite assemblez vos pièces buste devant et empiècement dos par les épaules endroit contre endroit. Epinglez votre col envers contre endroit du buste. Surfilez votre marge de couture et rabattez la au fer vers l'intérieur de votre vêtement. Fixez la par une piqûre à 0.7 cm, ainsi votre rentré de couture ne sortira plus. Bravo!!! vous avez votre Dahlia à col plat! Pour la version robe j'ai simplement rallongé le modèle de 40 cm, sans modifier la ligne de côté mais en la prolongeant, cependant j'ai les hanches peu marquées donc à voir si vous souhaitez la rallonger. Le pli plat du dos donne quand même de l'aisance en bas. J'espère que ce petit tuto vous plaira,je m'excuse de la qualité pas toujours terrible des photos mais j'ai dû la coudre de nuit et photos portées en fin de journée... très bonnes fêtes à tous!