La vie en rouge...la blouse Sybil et son tuto
Bonjour!
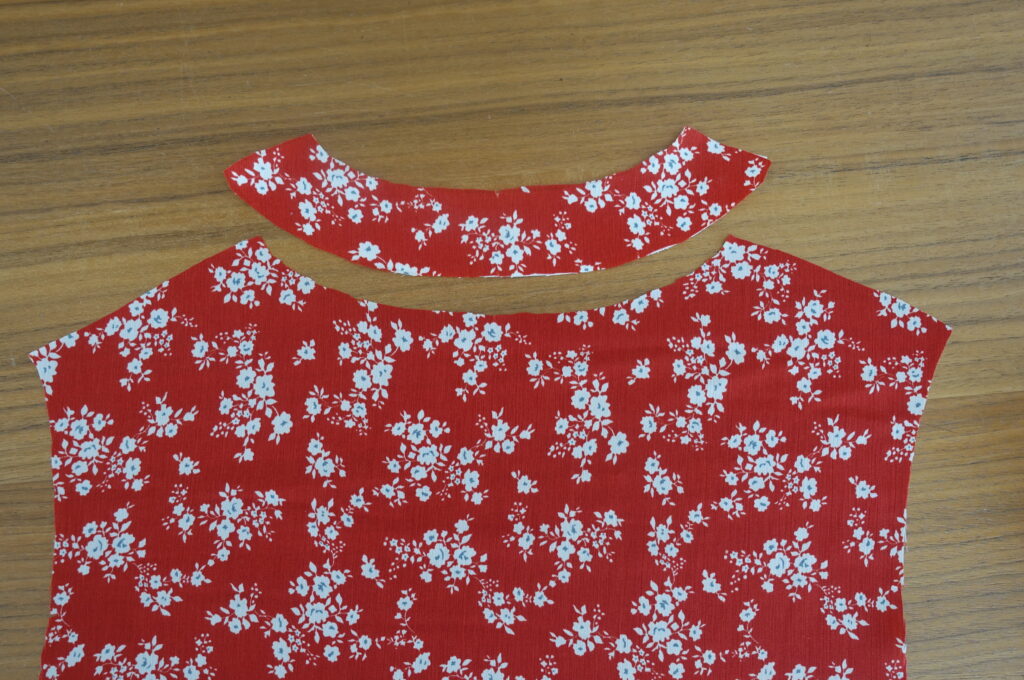
La nouvelle collection étant partie en gradation, j'ai un peu de temps pour vous proposer un nouveau tutoriel de montage: le patron Sybil version blouse et empiècements. La version empiècement est la plus délicate, déjà à la préparation car il y a de nombreux arrondis et il vous faudra être précis lors de la découpe et de l'entoilage de vos empiècements.
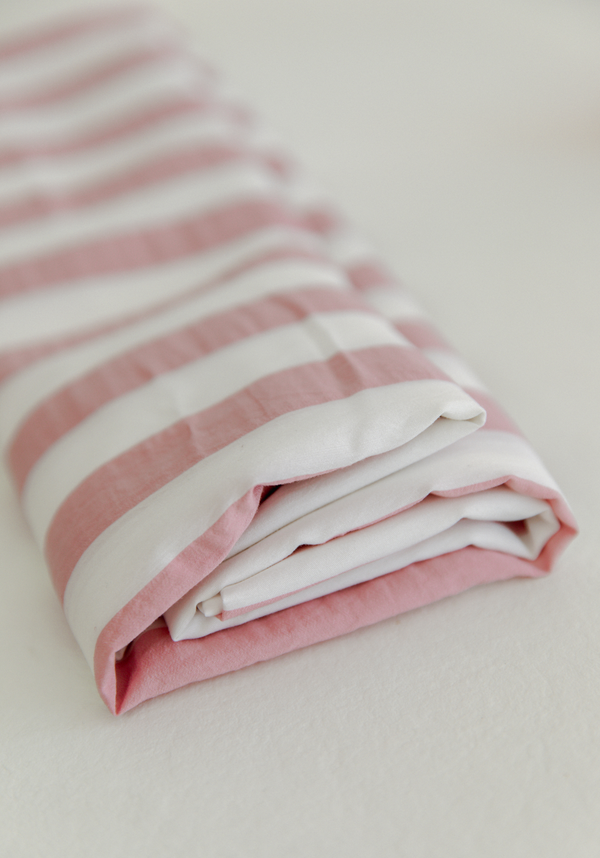
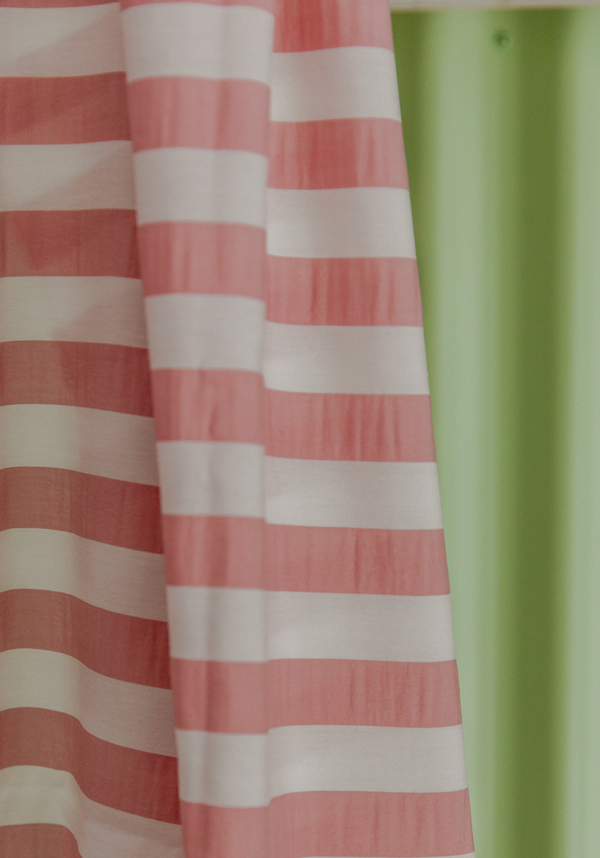
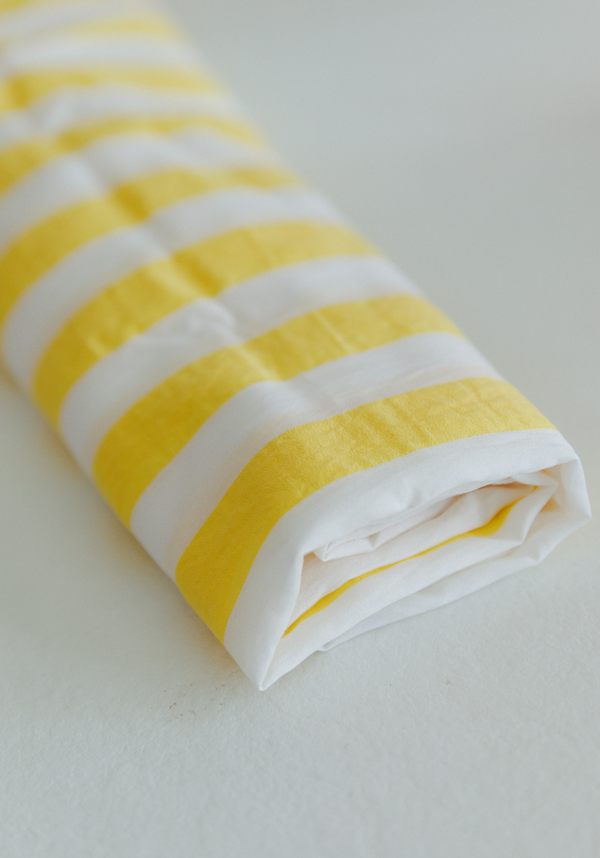
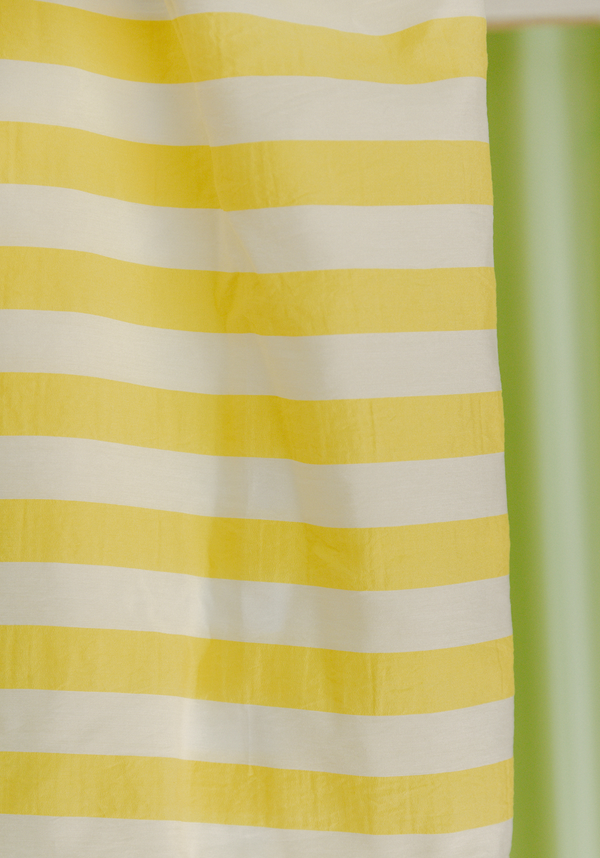
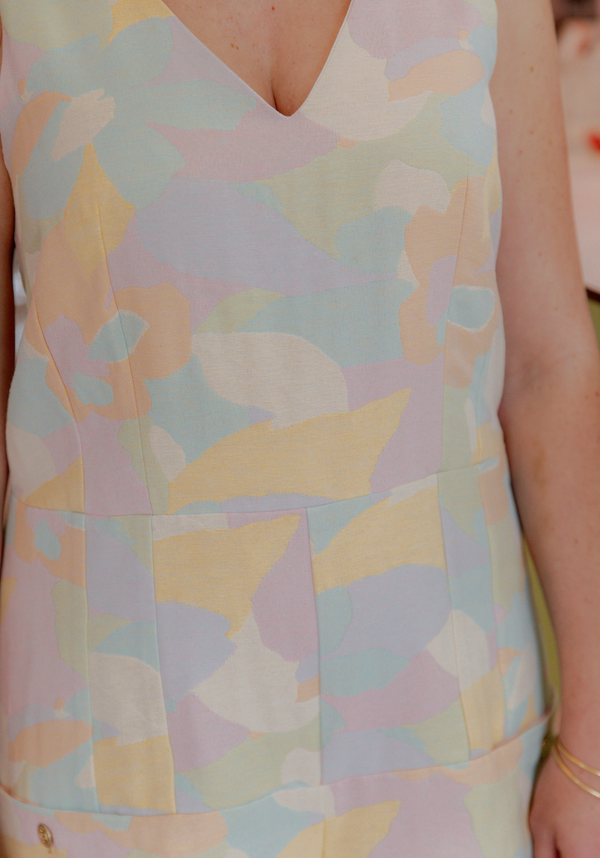
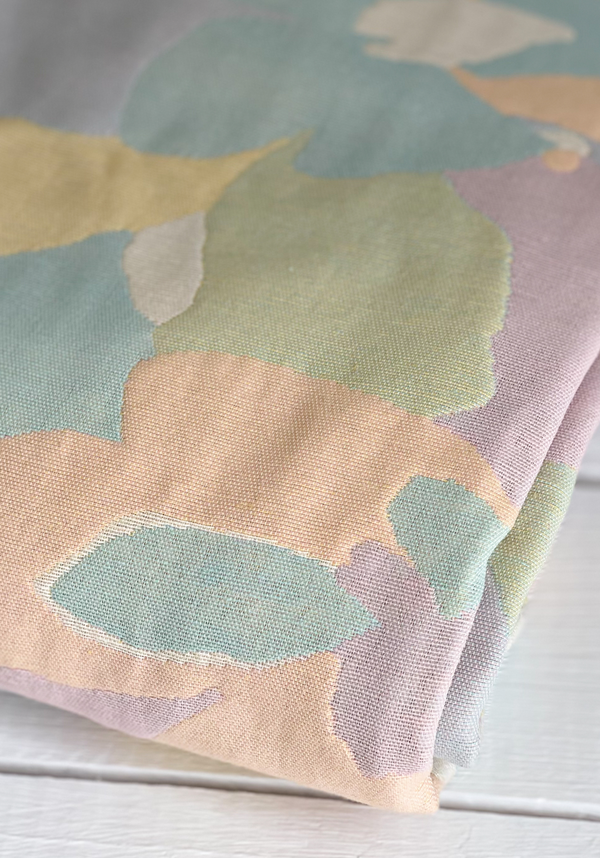
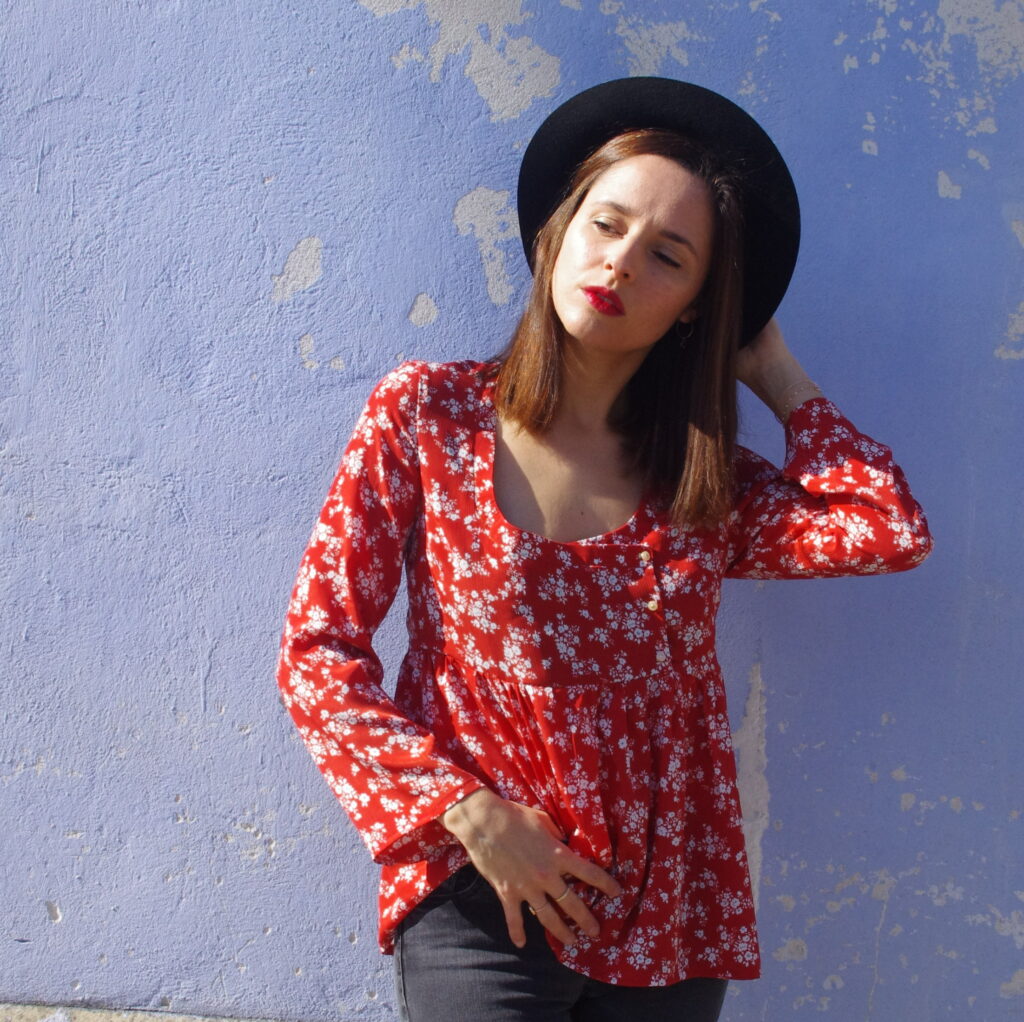
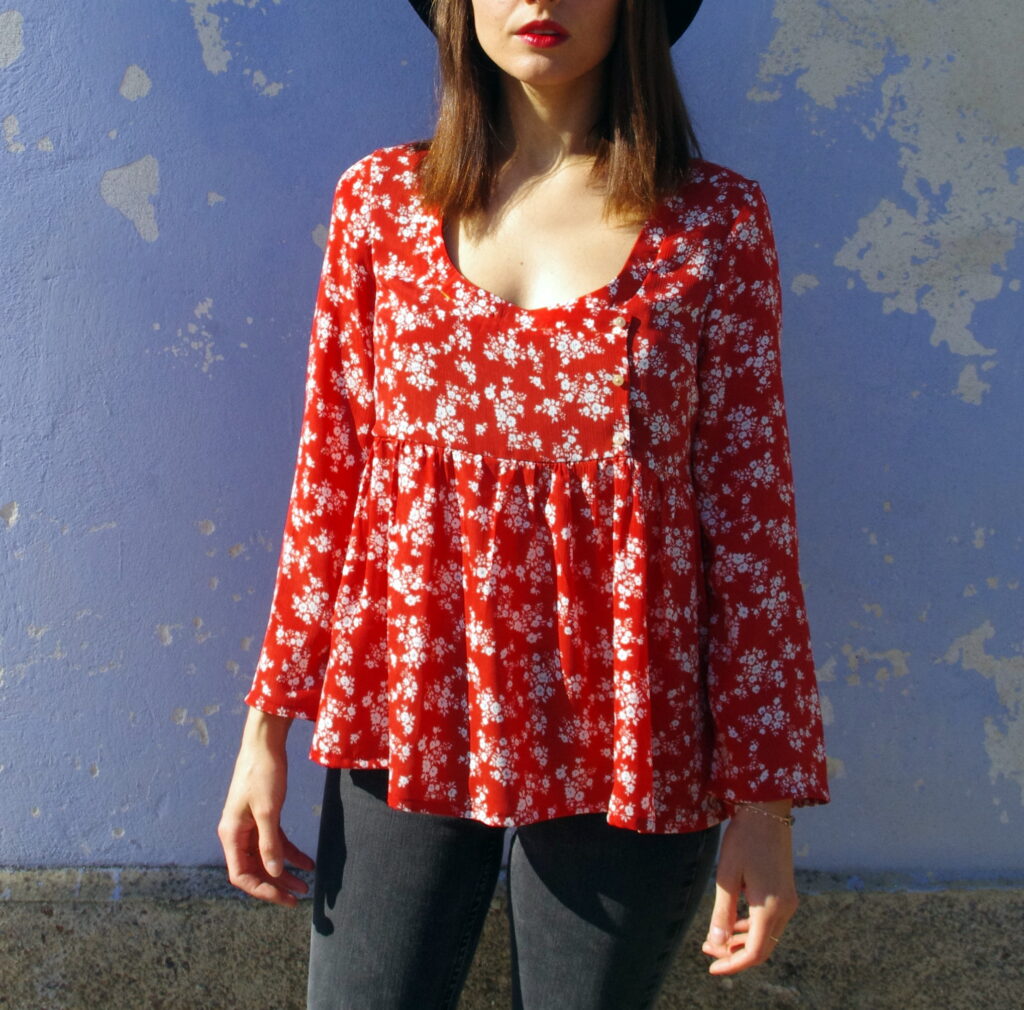
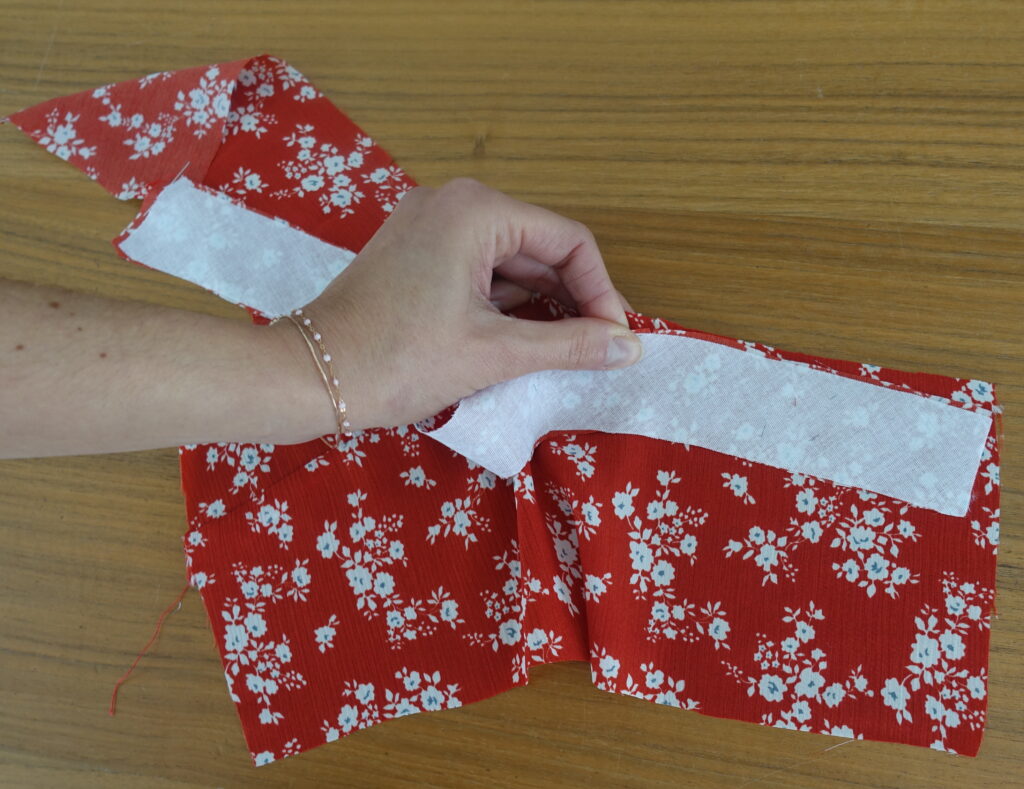
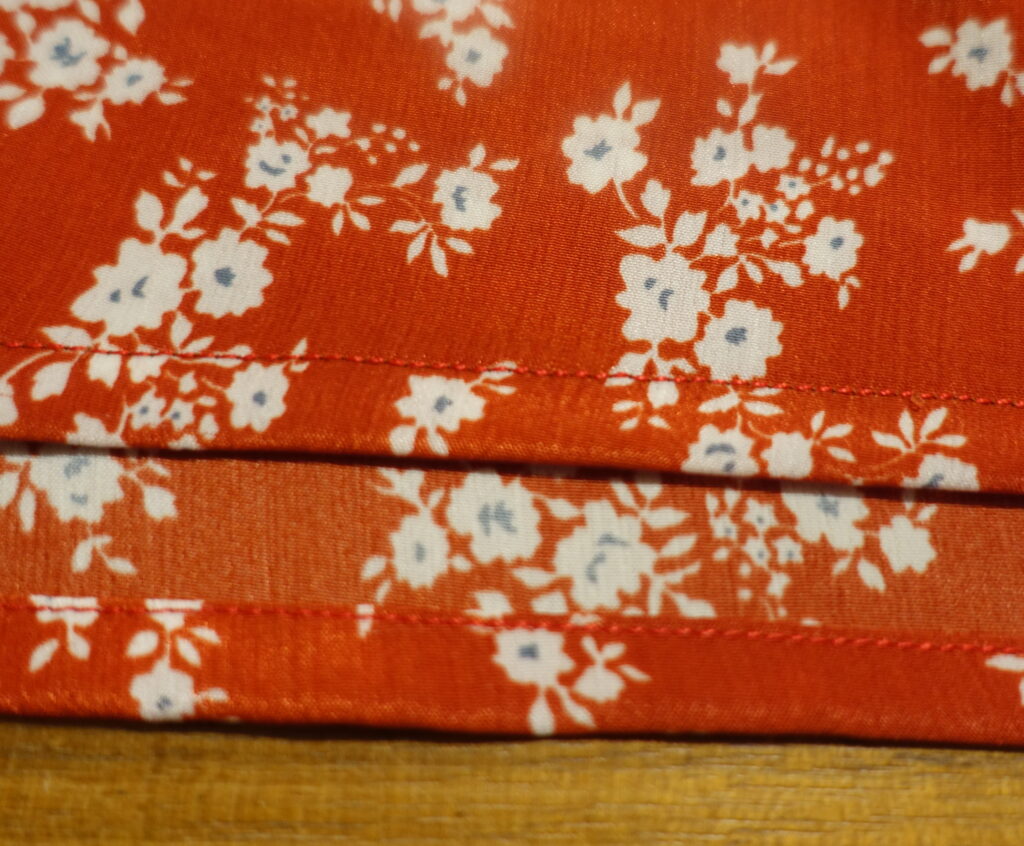
J'ai choisi pour cette version un tissu de chez Pretty mercerie. Il a un très bel imprimé, la couleur est lumineuse et l'effet légèrement froissé vraiment joli. Par contre il est synthétique et marque très peu au fer, et son repassage demande de la délicatesse ce qui a compliqué un peu l'entoilage thermo collant. C'est également un tissu fin et qui glisse un peu, donc à recommander pour des projets simples ou si vous êtes déjà aguerri à votre modèle.
-

blouse sybil patron de couture maison fauve -

blouse sybil patron de couture maison fauve
J'ai choisi de vous faire le tuto sur cette déclinaison du patron car j'ai eu plusieurs messages me faisant part de difficultés lors du montage buste tissu/buste doublure. Il faut bien voir que ce type de montage d'empiècement en "incrustation" nécessite d'assembler des arrondis qui vont se contrarier lors de l'épinglage pour se mettre parfaitement en place lorsque vous retournerez votre ouvrage sur l'endroit. C'est l'assemblage précis et sans erreur de votre buste tissu qui vous permettra une parfaite superposition avec la doublure. Et les dimensions sont identiques, donc attention si cela ne concorde pas bien entre le tissu et la doublure c'est que vous avez un petit raté préalable (légère modification de la dimension du tissu en thermocollant, petit décalage lors de la couture des empiècements et ces quelques mm se répercutent sur la hauteur totale du buste...). Les patrons Maison Fauve sont digitalisés et gradés par une modéliste sous Lectra, ce qui signifie notamment que les dimensions des différentes pièces et la concordance des crans de montage sont vérifiés informatiquement. Et les tests se font au retour de la gradation donc revalident à nouveau le patron ;)
Allez, sortez vos épingles, vos ciseaux, on est parti!
- Réalisation des pinces poitrines sur les pièces du buste devant.
Epinglez après avoir fait correspondre les crans de montage. N’hésitez pas à tracer la zone de couture avec une craie de tailleur ou un feutre effaçable type Pilot frixion (s’efface d’un coup de fer !!!) ou vous pouvez la bâtir à large point, cousez depuis le bord du vêtement et finissez bien la pointe de votre pince en mourant le long de la ligne sur les 2 derniers points. Plaquez au fer vos pinces vers le bas. Vous ferez de même pour les pinces poitrines sur la doublure.


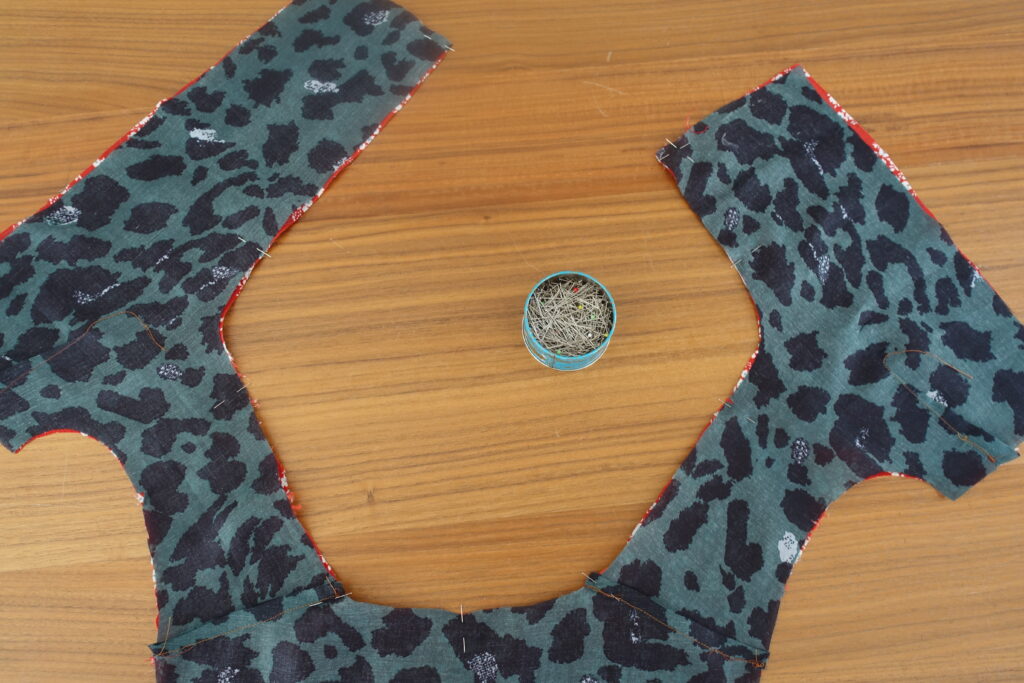
- Assemblage buste et empiècement : votre patron comporte des repères pour ne pas vous tromper lors de l’assemblage des empiècements sur le buste. En effet lors de l’assemblage de ces pièces les arrondis se contrarient, c’est au moment où l’on déploie les pièces après la couture que les courbures se définissent.


Pour le buste devant gauche : épinglez endroit contre endroit le buste et l’empiècement en faisant bien correspondre les crans A. Cousez, retournez et repassez bien.
Pour le buste devant droit : épinglez endroit contre endroit le buste et l’empiècement en faisant bien correspondre les crans D. Cousez, retournez et repassez bien.
Pour le buste dos: épinglez endroit contre endroit le buste et l’empiècement en faisant bien correspondre les crans E. Cousez, retournez et repassez bien.
- Assemblage du buste : Assemblez endroit contre endroit les pièces buste devant droit et gauche et la pièce buste dos par les épaules.


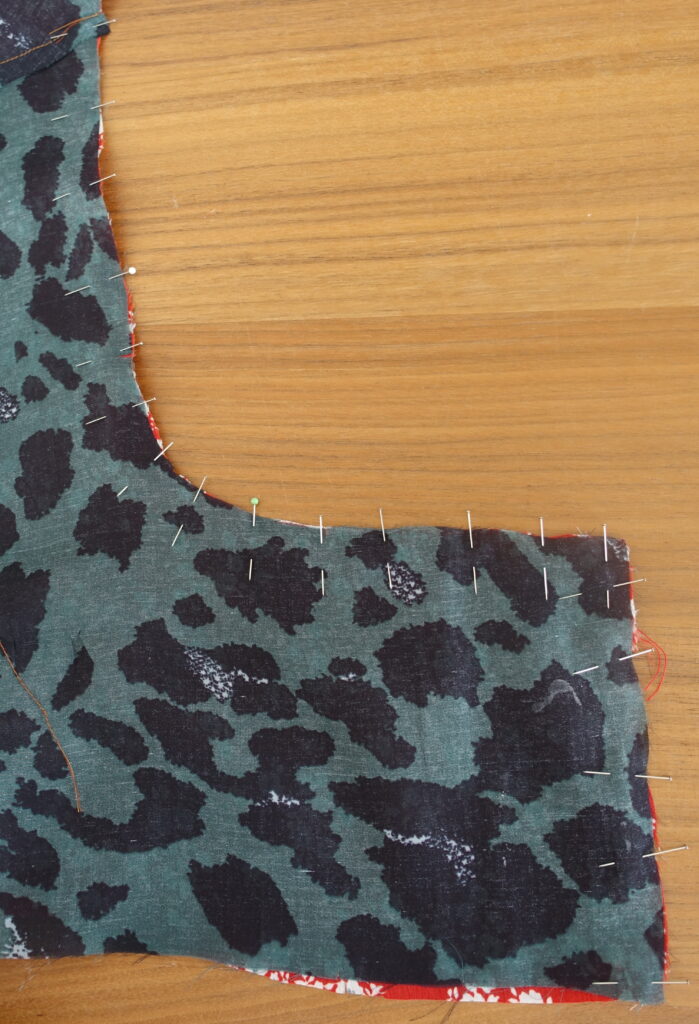
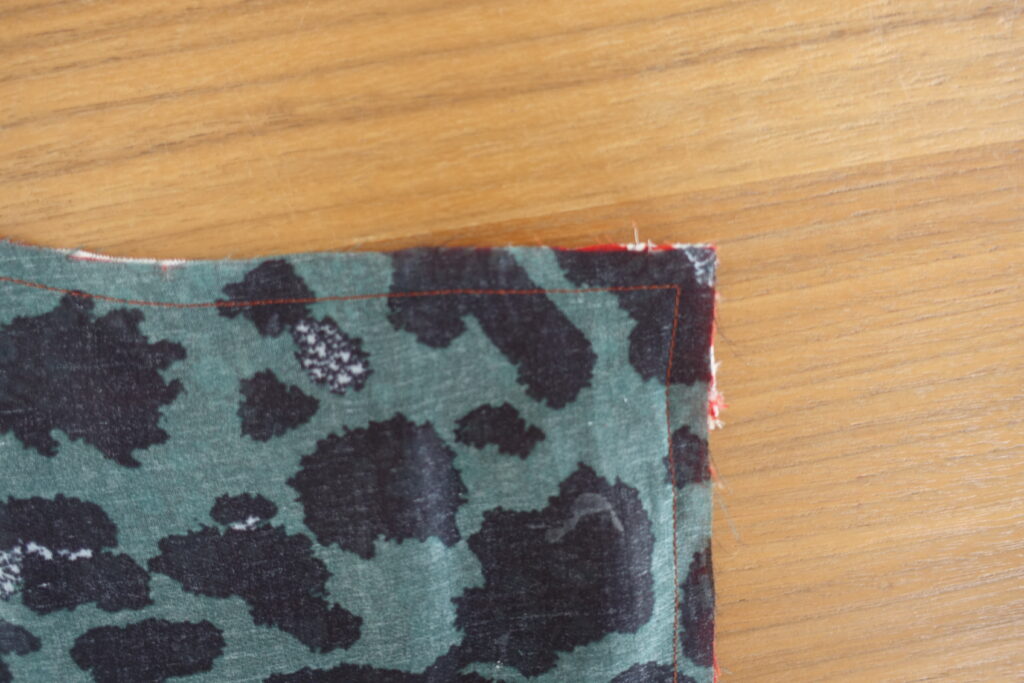
- Mettez endroit contre endroit le buste sur la doublure et épinglez tout le tour d’encolure : depuis le bas de la pièce devant droit, en remontant le long de l’encolure, le long de l’encolure dos et en redescendant sur la pièce devant gauche. Aidez-vous des crans de repères (C pour le devant droit, B pour le devant gauche et le cran milieu dos au pli pour le dos). Arrêtez-vous à l’encolure gauche sans descendre le long du côté gauche. Crantez bien la pointe de vos découpes et tous vos arrondis et diminuez vos marges de couture. Retournez votre travail sur l’endroit. Repassez pour bien définir vos arrondis et l’angle du buste droit.


NB : si vous souhaitez fermer votre blouse avec de petits liens il vous faudra les positionner à cette étape, en les prenant en sandwich entre le bord de la doublure et du tissu du devant droit).
-
Les côtés :
Afin de faciliter votre travail vous pouvez au préalable stabiliser l'assemblage tissu/doublure en les fixant par une piqûre dans la marge de couture. Epinglez endroit contre endroit vos côtés en mettant le côté du devant droit en sandwich entre le côté dos et le bord du devant gauche, ainsi quand vous retournerez ce sera le devant droit qui croisera devant le devant gauche. Surfilez vos coutures côté.


- Repassez bien votre ouvrage afin que vos décolletés devant et dos soient bien définis. Vous obtenez votre blouse avec l’endroit de la doublure qui sera contre votre corps et l’endroit tissu qui sera visible.
- Epinglez sur l’endroit le bas de vos pièces buste, et piquez à 0.5 cm (donc dans la marge de couture) : le but est de les solidariser préalablement à l’assemblage avec la partie jupe, cela vous rendra cette étape plus facile.
- La partie « jupe » : votre pièce jupe est présentée en « jupe » pour la blouse soit la partie basse de votre blouse, ou en « jupe » pour la robe.
- Assemblage jupe/buste : commencez par froncer le haut de votre jupe. Vous allez coudre 2 rangées de fil fronces, pour cela descendez au maximum la tension du fil et réglez sur votre machine des points larges. Réalisez une première couture à 0.4 mm du bord tout le long de votre taille, et laissez le fil un peu long avant de le couper en fin de couture. Faites de même à 0.8 mm du bord.

- Placez votre jupe sur un des pans de votre buste endroit contre endroit, et commencez par épingler les points remarquables (les milieux devant et dos, les coutures de côtés du buste qui correspondent à la couture côté de la jupe). Tirez doucement sur les 2 extrémités du fil, votre tissu va froncer le long du fil. Répartissez vos fronces harmonieusement sur toute la longueur et épinglez.
- Cousez votre jupe à votre buste en prenant bien garde à ne pas écrasez vos fronces (faites bien attention à avoir remis votre machine sur les réglages normaux de tension et de longueur de point). Surfilez votre couture.


- Votre vêtement se présente désormais comme une blouse sans manche au buste doublé, tissu et doublure solidarisés par l’encolure et la taille. Venez bâtir ensemble vos emmanchures tissu et doublure envers contre envers en réalisant un point à l’intérieur de la marge de couture (0.5 cm). Solidarisez les emmanchures ainsi vous facilitera l’étape du montage de la manche.
- Fermez votre manche en réalisant endroit contre endroit la couture latérale. Surfilez.
Montez votre manche sur votre vêtement en épinglant endroit contre endroit (utilisez bien vos crans de montage, 2 crans devant, 1 cran au dos, et 1 cran pour la tête de manche qui répond à la couture de l’épaule). Surfilez votre couture.


Les finitions : réalisez l’ourlet du bas de votre robe/votre top et des manches. Cousez vos 3 jolis boutons sur le buste gauche .

J'espère que ce pas à pas photo vous aidera lors du montage de votre belle Sybil. Je suis impatiente de découvrir vos versions!

1 commentaire
Merci pour les explications mais un tuto serai le bien venu pour compléter la réalisation de ce joli haut 🤔🤔🤔